HOMMEL-ETAMIC F135/155
Producer:
- JENOPTIK Industrial Metrology Germany
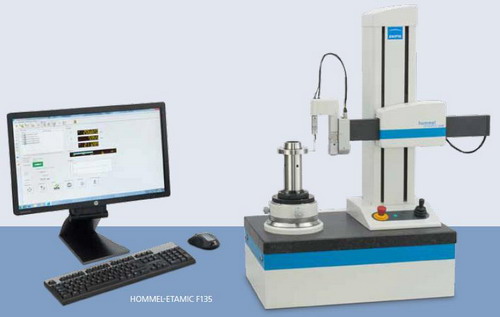
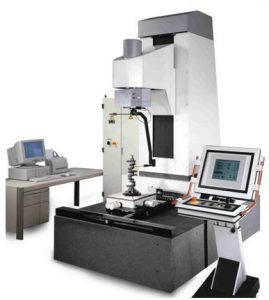
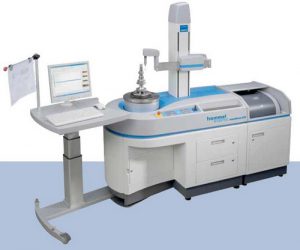
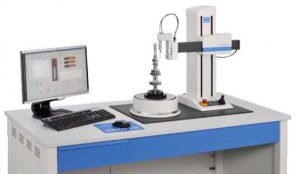
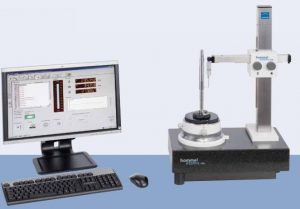
Measuring system (circular meter) HOMMEL-ETAMIC F135 / 155 is designed to control the basic parameters of the deviation of the shape and location for the bodies of revolution after machining.
Main features:
- Durability and reliability of work due to the use of pneumatic bearings;
- Software hints that facilitate centering and alignment;
- The horizontal console and the vertical column have an automated drive;
- Rotary encoder FS1 for quick and easy positioning of the probe;
- Collision protection system;
- A new generation of sensors with magnetic stylus attachment for rapid replacement of the probe;
- The Russified and intuitive interface of the TURBO FORM accounting software.
Specifications:
| Measuring range | |
| Distance between the axes C and Z, mm: | 275 |
| Max measured diameter, mm: | 340 |
| Max measured height, mm: | 350 / 550 |
| Axis of rotation (axis С) | |
| Table diameter, mm: | 150 |
| Aligning the part: | manual |
| Error deviation from the roundness of μm + μm / mm height measurement, mkm: | 0,03 + 0,0005 |
| Error deviation from the roundness of μm + μm / mm height *measurement, mkm: | 0,015 + 0,00025 |
| Error of axial runout at μm + μm / mm radius, μm: | 0,04 + 0,0005 |
| Error of axial runout at μm + μm / mm radius*, μm: | 0,02 + 0,00025 |
| Centering range, mm: | ± 2 |
| Range of leveling, °: | ± 0,6 |
| Measuring / positioning speed, rpm: | 1 – 10 / 1 |
| Type of bearings: | pneumatic |
| Max load, N: | 250 |
| Vertical axis (axisZ) | |
| Measuring range, mm: | 350 / 550 |
| Straightness error / 100 mm, μm: | 0,15 |
| Straightness error in the whole range, μm: | 0,3 / 0,4 |
| Nonparallelism of C and Z axes for the entire measuring range, μm: | not more than 0,8 / 1,3 |
| Measuring and positioning speed, mm/s: | 0,2 – 23 |
| Collision protection: | yes |
| Horizontal axis (axis R) | |
| Measuring range, mm: | 220 |
| Measuring and positioning speed, mm/s: | 0,2 – 14 |
| Dimensions / weight of the measuring system | |
| Length, mm: | 700 / 910 ** |
| Width, mm: | 410 / 550 *** |
| Height, mm: | 950 / 1150 |
| Weight, kg: | 185 / 200 |
All accuracy characteristics are given in accordance with DIN 1101 and at a temperature of 20 ± 1 ° C.
Measured deviation from roundness with filter 0-15 S / r; 6 rpm; LSC.
Measured deviation from straightness with cutoff of pitch 2.5 mm; 100 mm / min; LSS.
* – value of max. deviations for the reference circle LSCI, filter 0-15 S / r; 6 rpm.
** – the value is given for the long axis R.
*** – the value is given taking into account the protective box of the servo drives.
HOMMEL-ETAMIC F135/155 kit:
- Precision rotary table on pneumatic bearings, with manual centering and alignment of parts up to 40 kg;
- Vertical motorized measuring axis Z = 350/550 mm;
- Horizontal motorized measuring axis R = 220 mm;
- The new generation sensor FT1.1 with a range of ± 1000 μm is equipped with a magnetic holder for quick change of the probe arms;
- PC with Windows7, network card, DVD drive, mouse, 22 “TFT monitor, printer;
- TURBO FORM software in Russian;
- Pneumatic preparation module, including pressure reducer, 0 – 10 Bar manometer, 5 μm coarse filter, 0.5 μm fine filter and membrane dehydrator;
- Manufacturer´ s calibration certificate;
- User´ s manual;
- Training of the customer´s personnel.
Additional options:
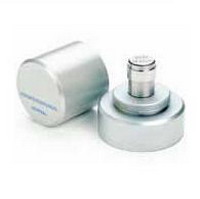
- Magnification standards with a certificate;
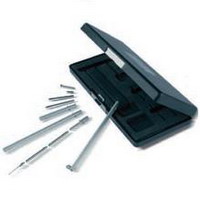
- FTS1 probe set for various tasks;
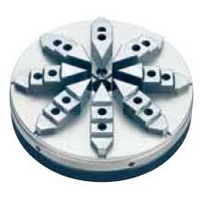
- Precision clamping chucks.
No accessories for this product.
